My 3DP Adventure Begins
I got a 3D printer for Christmas! I honestly can't remember being this obsessed with a toy since my first Lego set. I decided I better start tracking this adventure before it runs away with me. I want to be sure to mark a clear starting point in the digital sand to remember where it all began.
Often people ask me, "Melanie, how did you learn to do [this/that]?" and the most I can tell them is that I taught myself which leads them to believe I am somehow naturally gifted which isn't true. If they saw the learning process I went through, they would see it was just something I pursued in earnest over a period of time. No special talent. No inherent gift. Just a whole lot of curiosity, perseverance, trial-and-error, resourcefulness, and the driving belief that a person can accomplish almost anything if they set their mind to it.
If I record how the journey unfolded, years down the road, it will be easier for people to see it wasn't some inherited 3DP gene that magically granted me success. Instead, they will see an average human being enthusiastically bumbling along, naively pushing buttons, picking up the pieces of her failures, learning to turn them into successes. It's the story of every Maker.
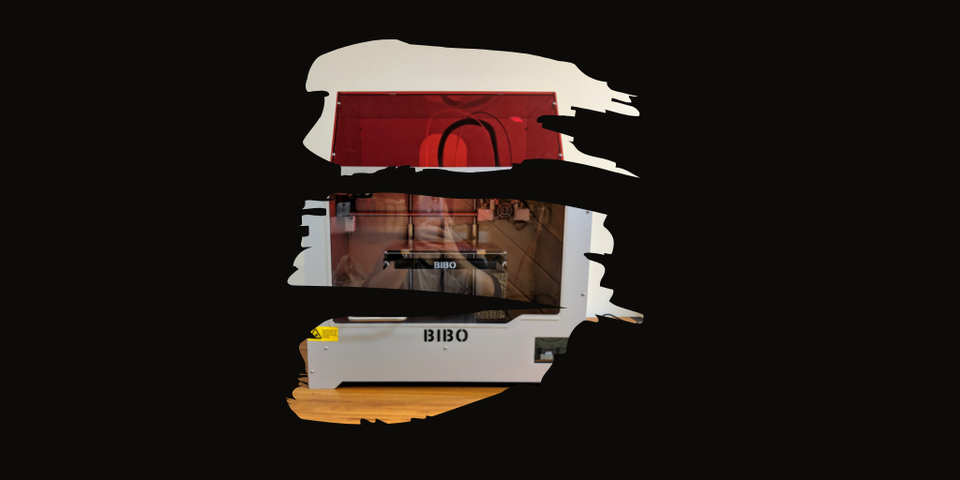
The Bibo2 Touch: Assembly
It came in a box, all wrapped up, on Christmas day - a gift from my father and step-mother. Have you ever seen a puppy when you give them a new bone? Their eyes grow wide with excitement then, once they are certain it is theirs, they run off to a safe place to be alone with their new treat. That pretty much describes me receiving my first 3D printer. I hardly remember anything else other than racing it home, carrying it in from the car, and unboxing it alone in the basement - just me and my 3D printer.
That feeling of total excitement started to slip away when I began reading the 57 page manual, translated from Chinese. This wasn't an unbox and push the power button type of gift. This was more like an IKEA-ish much assembly required type of gift - or that is the way it felt at the time. I have since learned how plug-n-play it was compared to kits I would later assemble.
The dual-extruder head, the filament holders, the glass bed, the hood and the door all needed to be installed. Now that it is done, it doesn't seem like a big deal at all. Now that I understand what is supposed to look like and how it all works, it seems almost silly how nervous I was to put it all together. That's why it is good to record these moments because once you get going, you forget how overwhelming it felt when you had no idea what an extruder head was or which direction it should face. You start to sound like all the talking heads on the internet who clearly WERE born with that magical 3D gene.
It didn't help that the manual wasn't in physical format. It was digitally tucked away on an SD card that contained dozens of folders filled with even more folders and files. As it turns out, I only have ONE computer in my house that accepts an SD card and it was, of course, firmly planted in my upstairs office. Needless to say, I didn't have any trouble hitting my Google Fit steps goal during the setup process.
A note for newbies: purchase a portable SD card reader and a few SD cards for whatever computer you plan to use with your 3D printer.
I transferred the contents of the SD card to Google Drive so I could have the manual anywhere I wanted it. I actually recommend printing the manual but I am stubborn about printing paper (PLA is okay, paper is the devil. Go figure. I'm quirky).
I also found a YouTube video of someone assembling their Bibo2 Touch and he was as clueless as I was which greatly increased my confidence. I wasn't alone! Between watching him fumble along with his assembly and trying to interpret the Chinese translated to English manual, I finally managed to get the whole thing put together. It was extremely satisfying to turn on the power switch and watch everything light up the way it should. I took me a better portion of the afternoon to get it done which now seems crazy since I could put one together in no time flat now that I understand the whole process. I didn't even install the door or the hood at first. I've been thinking about trying to recreate the manual in newbie language.
3DP Software
The next hurdle was figuring out the software. Most of us have become accustomed to the polished experience of purchasing an item at the store then easily downloading/installing the needed software/app to make it work. Well, 3D printing isn't anything like that. It's still too beta geeky new. I know 3DP has come a long way over the past four or five years but it still has a long way to go before it gets "iPhone dumb" - my term for anything so foolproof easy to use even a baboon could figure it out.
The most basic software you need to make the whole gig work is something called a slicer. This software allows you to convert your .stl 3D file into a .gcode file that your printer will understand. There are a few different popular solutions out there but I decided to go with Cura because I know it's what my local makerspace is using with their printers and it's free.
The only tricky thing about this is that the Bibo2 Touch is not a printer that is already configured in Cura 3.6. When you go to add your printer, the Bibo2 is not listed as an option. To make it all work, you have to decipher the manual which instructs you to copy a bunch of files provided on the SD card into the software program folders on your computer.
The only problem with THAT is that the instructions in the manual are already out of date. That's the problem with printed manuals and technology. Technology is always on the move so anything printed is usually out of date in the blink of an eye. You have to be flexible, willing to hunt down current solutions, and be willing to experiment. I managed to get to the point where it allowed me to install my printer and import the necessary Bibo2 profiles. I'm certain the profiles could use a little more work but I will be joining some active groups/forums soon and I'm sure they will be able to provide the most current information.
Basic Building Blocks
Once I had the printer and the software installed, I only needed to find something to print. Luckily, the SD card already contained a test .gcode file for calibration. I was able to print my first basic block which provided approximately the same satisfaction and joy as the first moon walk probably did for Neil Armstrong. Who new a little block of plastic could produce such joy?
To Be Continued...
I found this draft post today and decided to get it posted even though my journey has taken me far beyond this point since this initial writing. It still marks the start of my 3DP journey and makes me laugh to read the things I wrote "in the beginning". I'll need to catch up my blog but, in the meantime, you can get a sense of my 3DP journey on my Instagram account.


Comments ()