My First MakerSpace Project!
I did it! I made my first project at Claremont MakerSpace. I feel so cool. It involved a lot of driving back and forth at night and in stormy weather to get trained and certified but now that my first project is completed, I can say it was definitely worth it. Here's how the project process unfolded.
Laser Training & Certification
A couple of weeks ago, I took the Laser 101 class at Claremont Makerspace. Then I went back to take the certification test to prove I knew what I was doing. To my surprise, my instructor passed me even though I dropped the very important z tool down into the deep, dark crevice of the machine. He had to pull the machine apart to retrieve it. Oops. I'm a nervous nelly test taker. As a result of my clumsiness, the tool is now located in an easier to reach location. You're welcome.
Passing the certification test gives you access to the laser cutter any time your membership allows. My membership is weekends only so today was the first day I could return to give the machine a run, unsupervised.
Landing the Project Idea
I personally feel the hardest part of any project is coming up with an idea. After that, it's just a matter of knowing what to do and putting forth the work. After looking at a gazillion incredible ideas on Pinterest, I decided my first project needed to be simple, something similar to the things we cut during training. That's how I came up with the idea to make a classic memory game for my grandsons with wooden playing cards engraved with some of their favorite Disney characters. I definitely recommend it as a first laser cutter project idea.
Choosing & Using Software
The next step was figuring out which software program to use to create the pattern. The laser cutter at Claremont Makerspace is setup to work with CorelDraw. I don't own a copy so I downloaded an open source program called Inkscape instead. I like Inkscape because it runs on just about every OS, including a Crostini enabled Chromebook. I also considered GIMP as a choice but it didn't feel as user-friendly for this project as Inkscape which is sort of important when you aren't really sure what you are doing in the first place.
With my idea and software picked out, I just needed to create the print prototype. One million YouTube videos, online tutorials, and forum posts later, I finally had an svg file that was ready to rock-n-roll to Claremont. I popped it on a usb stick and headed off to find materials. I am probably going to write up my own tutorial for how to use Inkscape to create this project. Now that I know how to do it, it seems pretty easy. In the meantime, this was the most helpful video tutorial I found online. There are also some issues with importing into CorelDraw that need to be addressed but that will have to wait for another day. Meanwhile, here's the best thing I read about how to optimize for CorelDraw.
Purchasing Materials
Writing this article makes me realize how much time I invested in this project! The happy news is that I don't have a lot of $$ invested. I was able to find a piece of 1/8" x 12" x 24" craft plywood at my local Joann's Fabric for $6.00 and only used half the sheet. I can't find the product listed on their website but here's a link to the same product on Amazon. I guess you can spend a lot of money on materials but this was my first project and I didn't want to burn up a lot of money if it went sideways. I actually bought a few sheets and also a smaller sheet for testing.
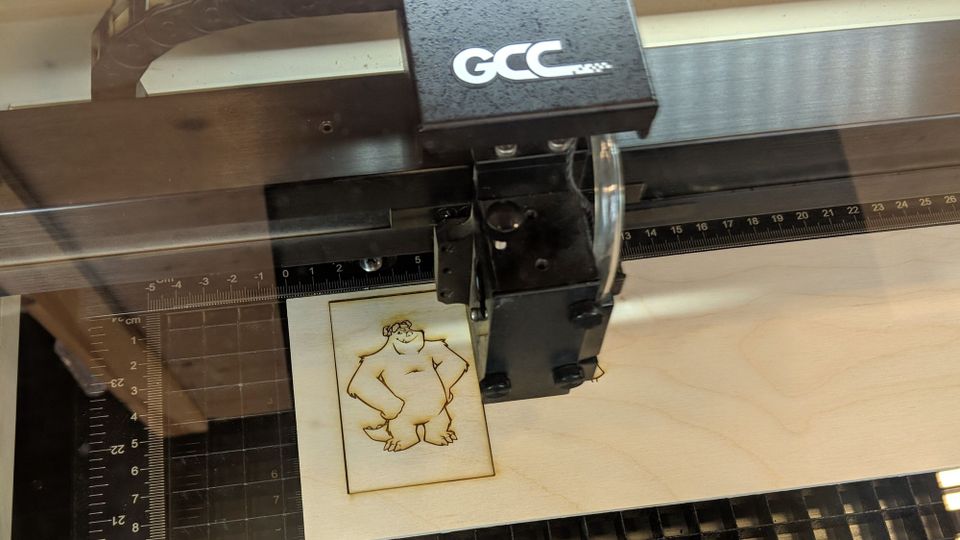
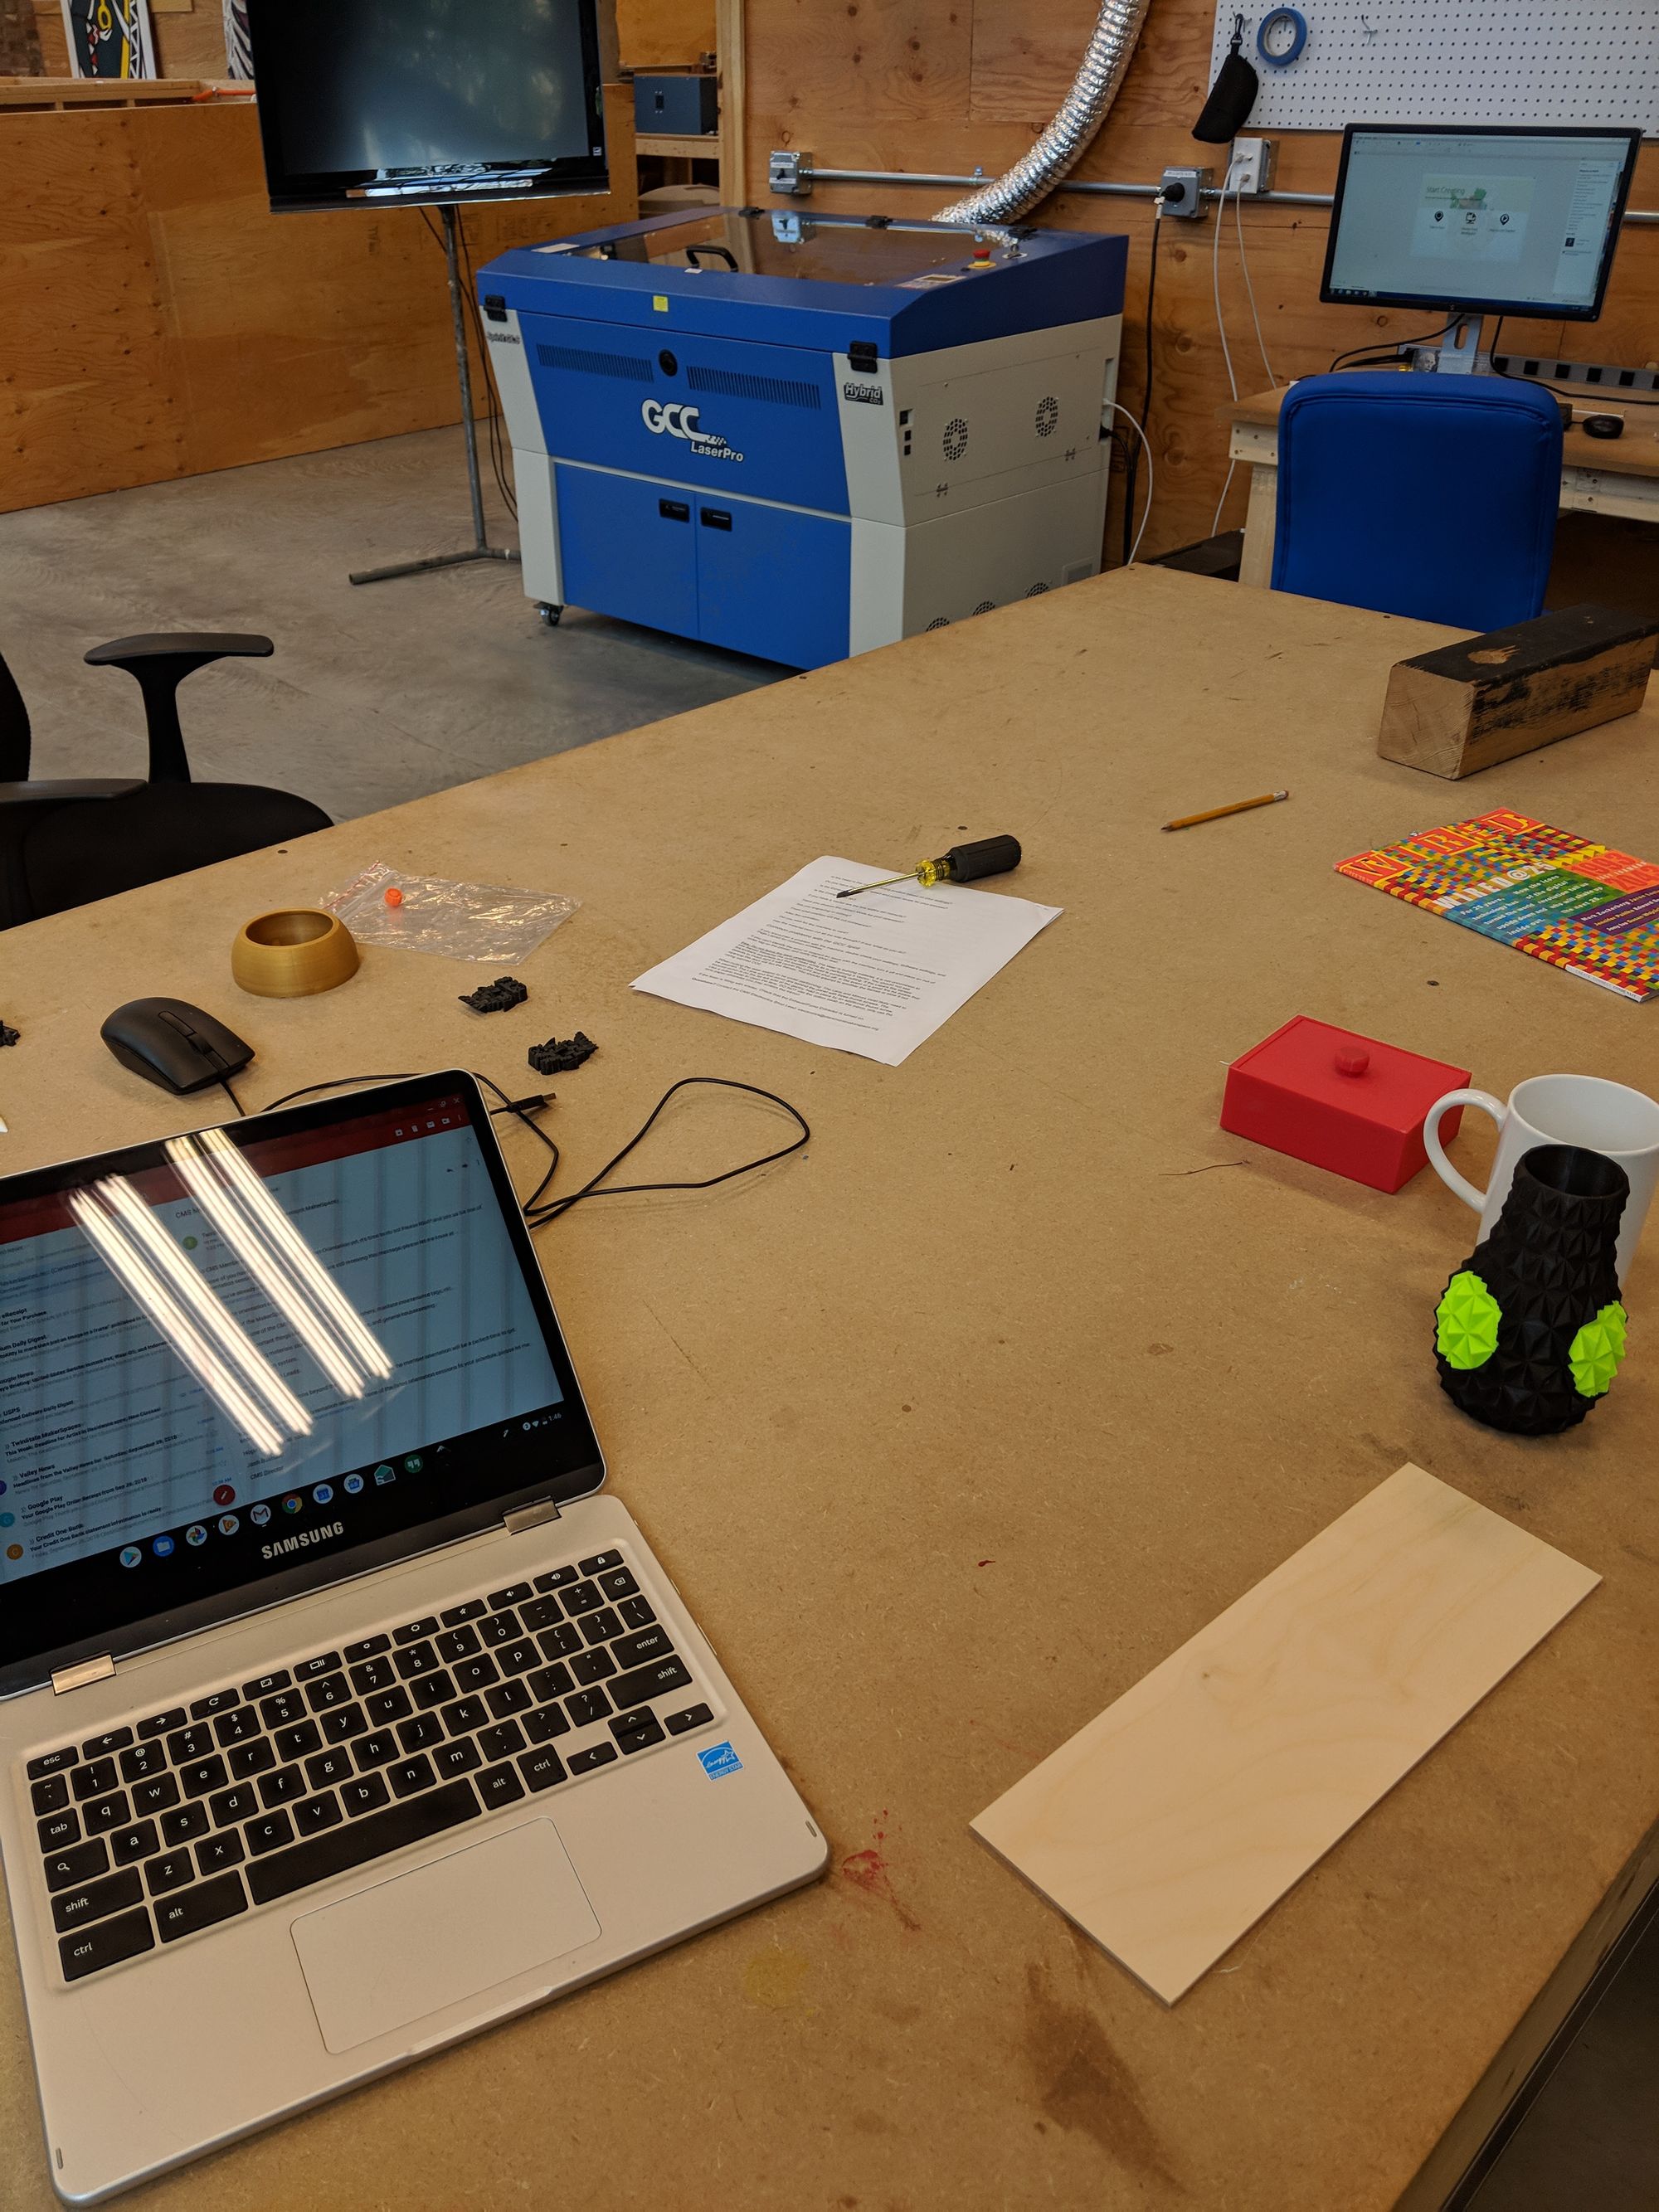
Making the Cut
After some initial setup at the makerspace, I ran my first test. It was AMAZING! I had convinced myself that something was going to be completely backwards and I'd have to spend more time figuring it all out but nope! There were minor setting changes and tweaks but overall, it went a lot more smoothly than I anticipated for a first attempt.

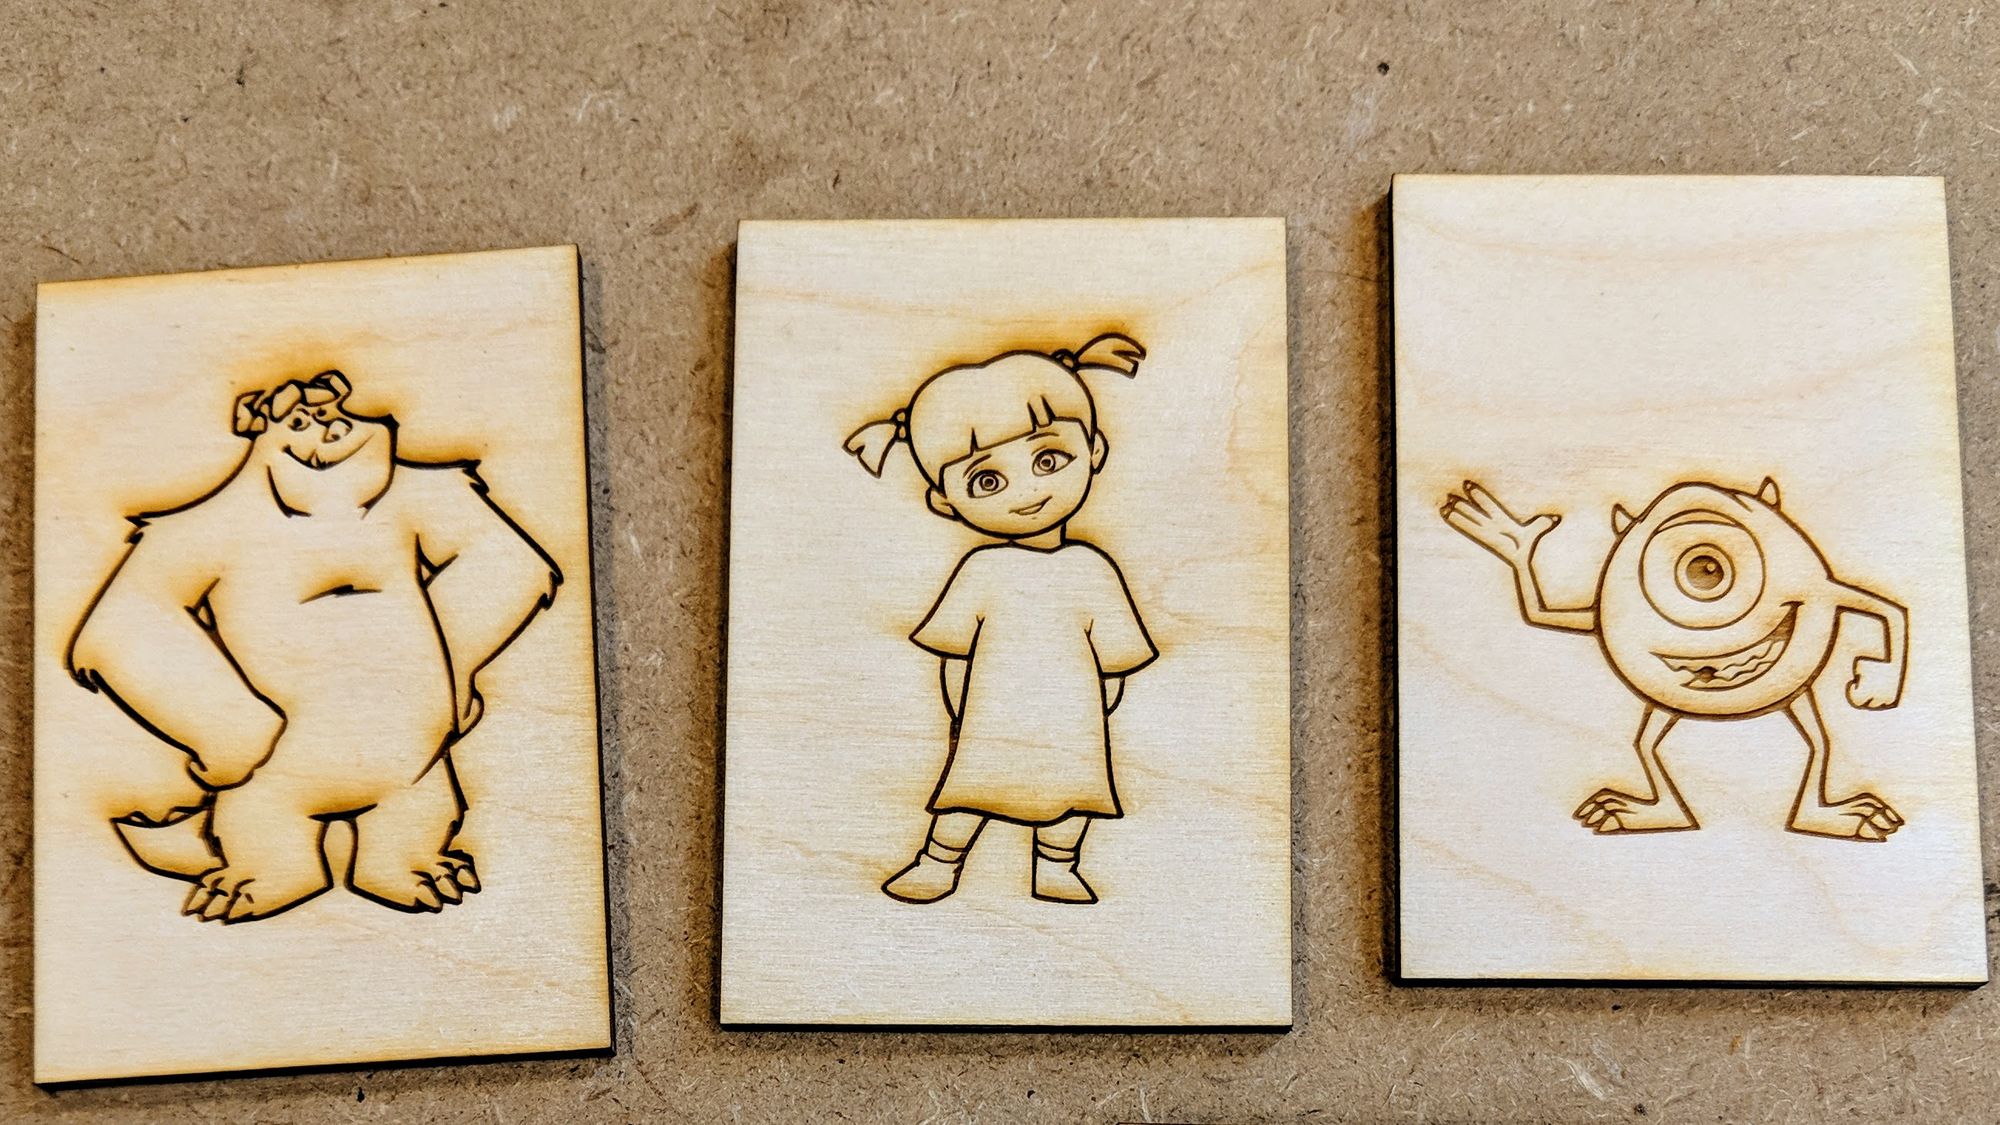
Aren't they cute?
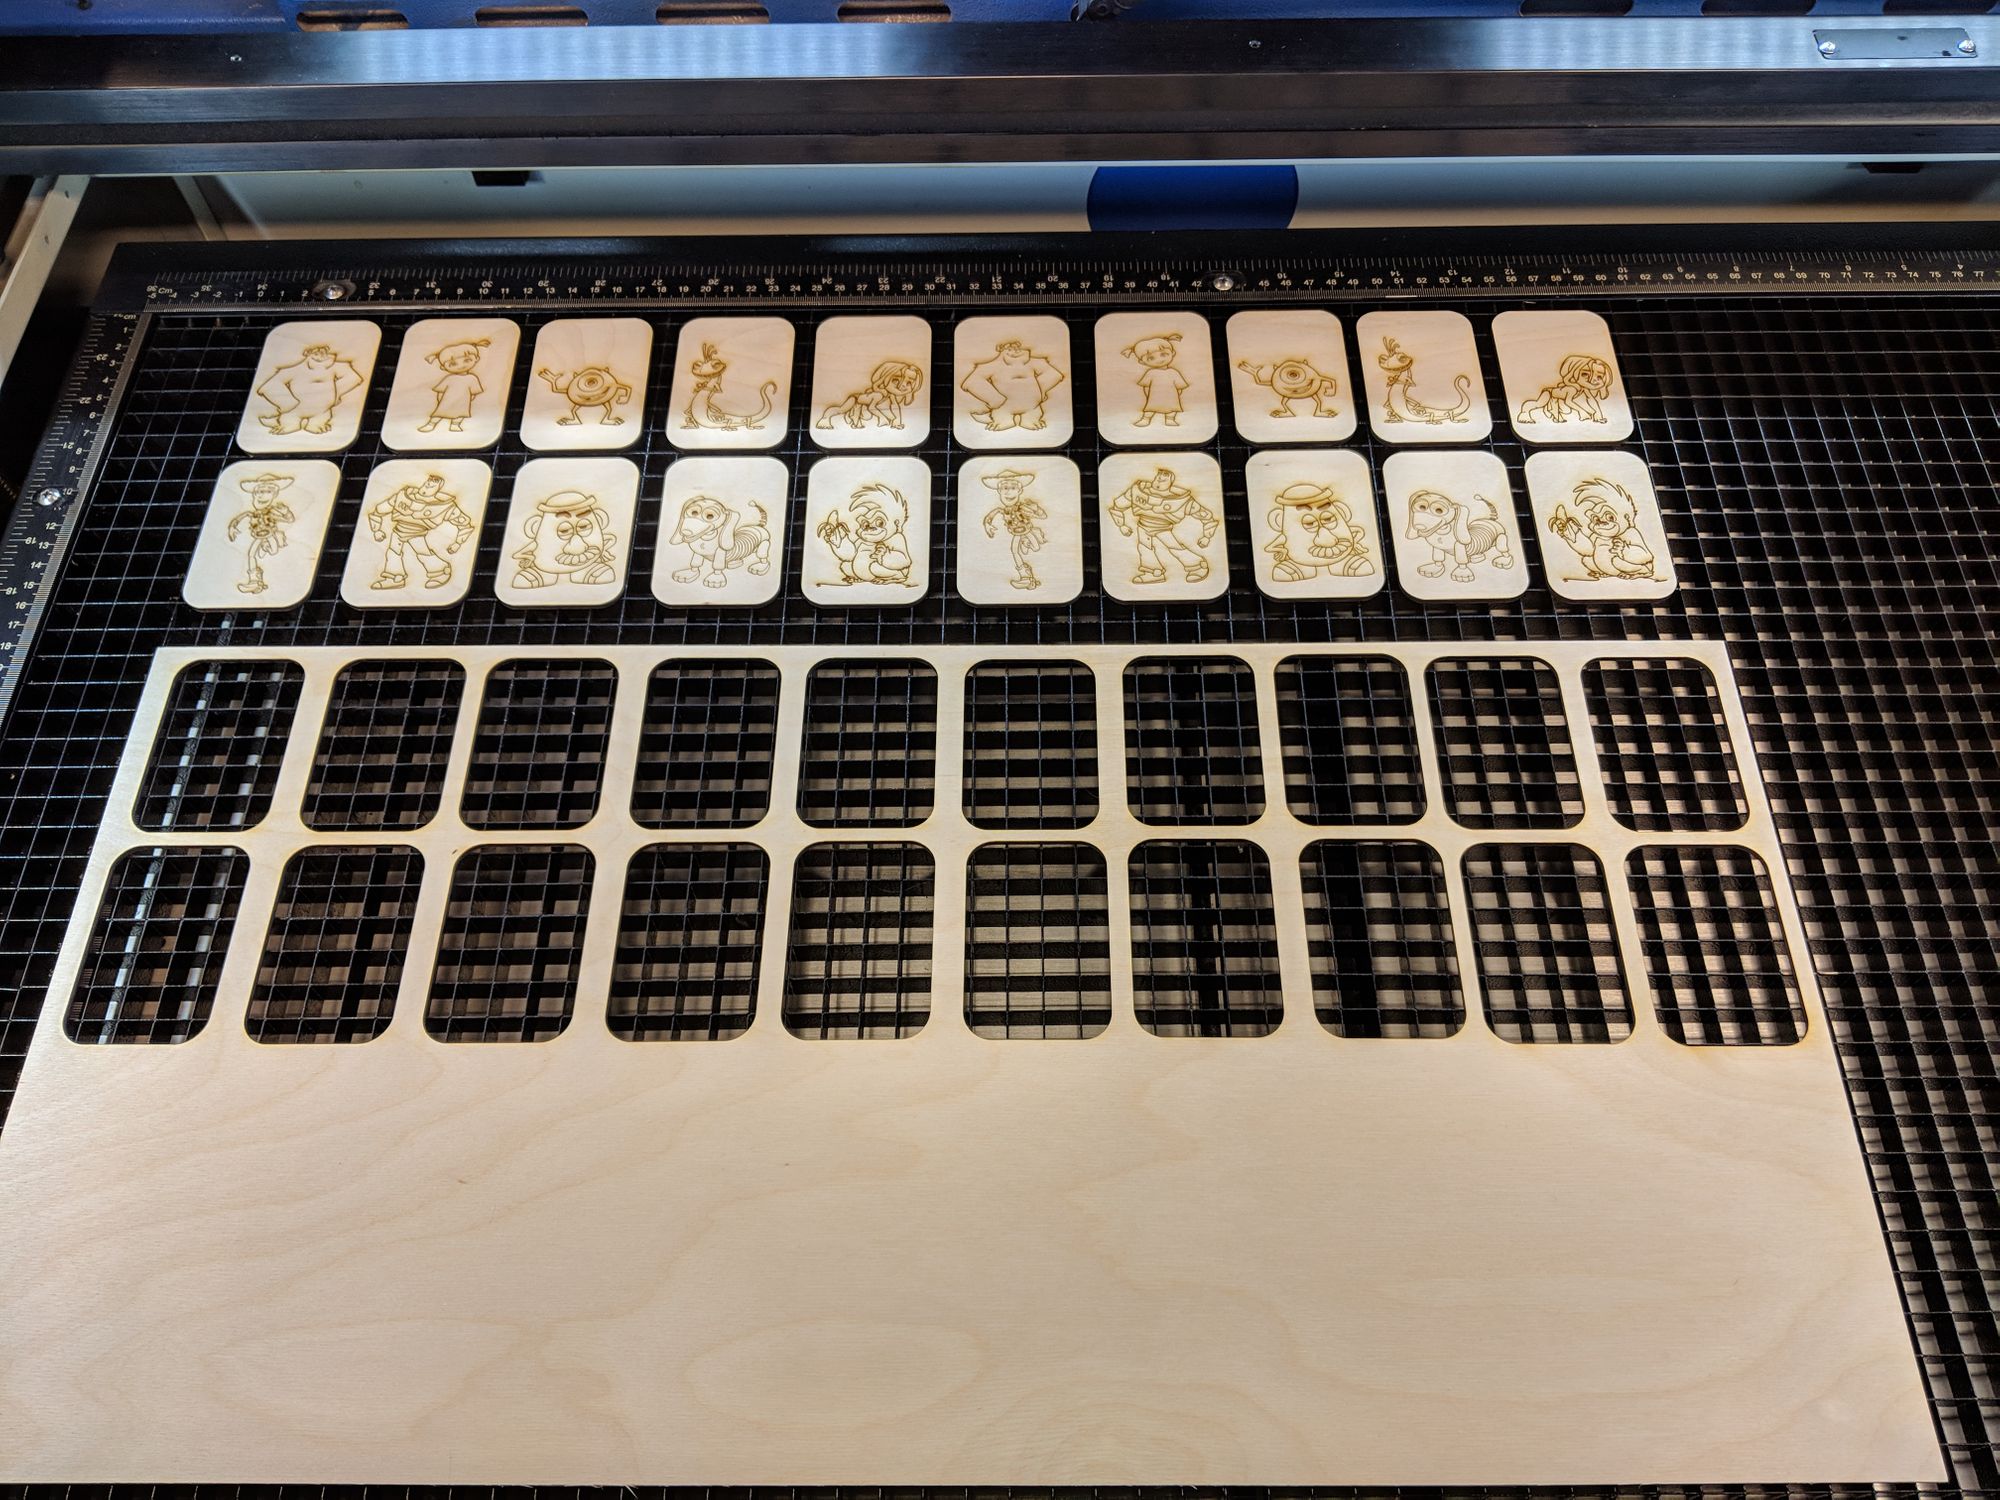
Making the Final Cut
The test cut gave me a chance to work out some of the details and settings. I was especially grateful for the advice and help I received from the shop leads. Claremont Makerspace one of those rare environments where people actually want you to succeed and are happy to do whatever they can to make sure you do.
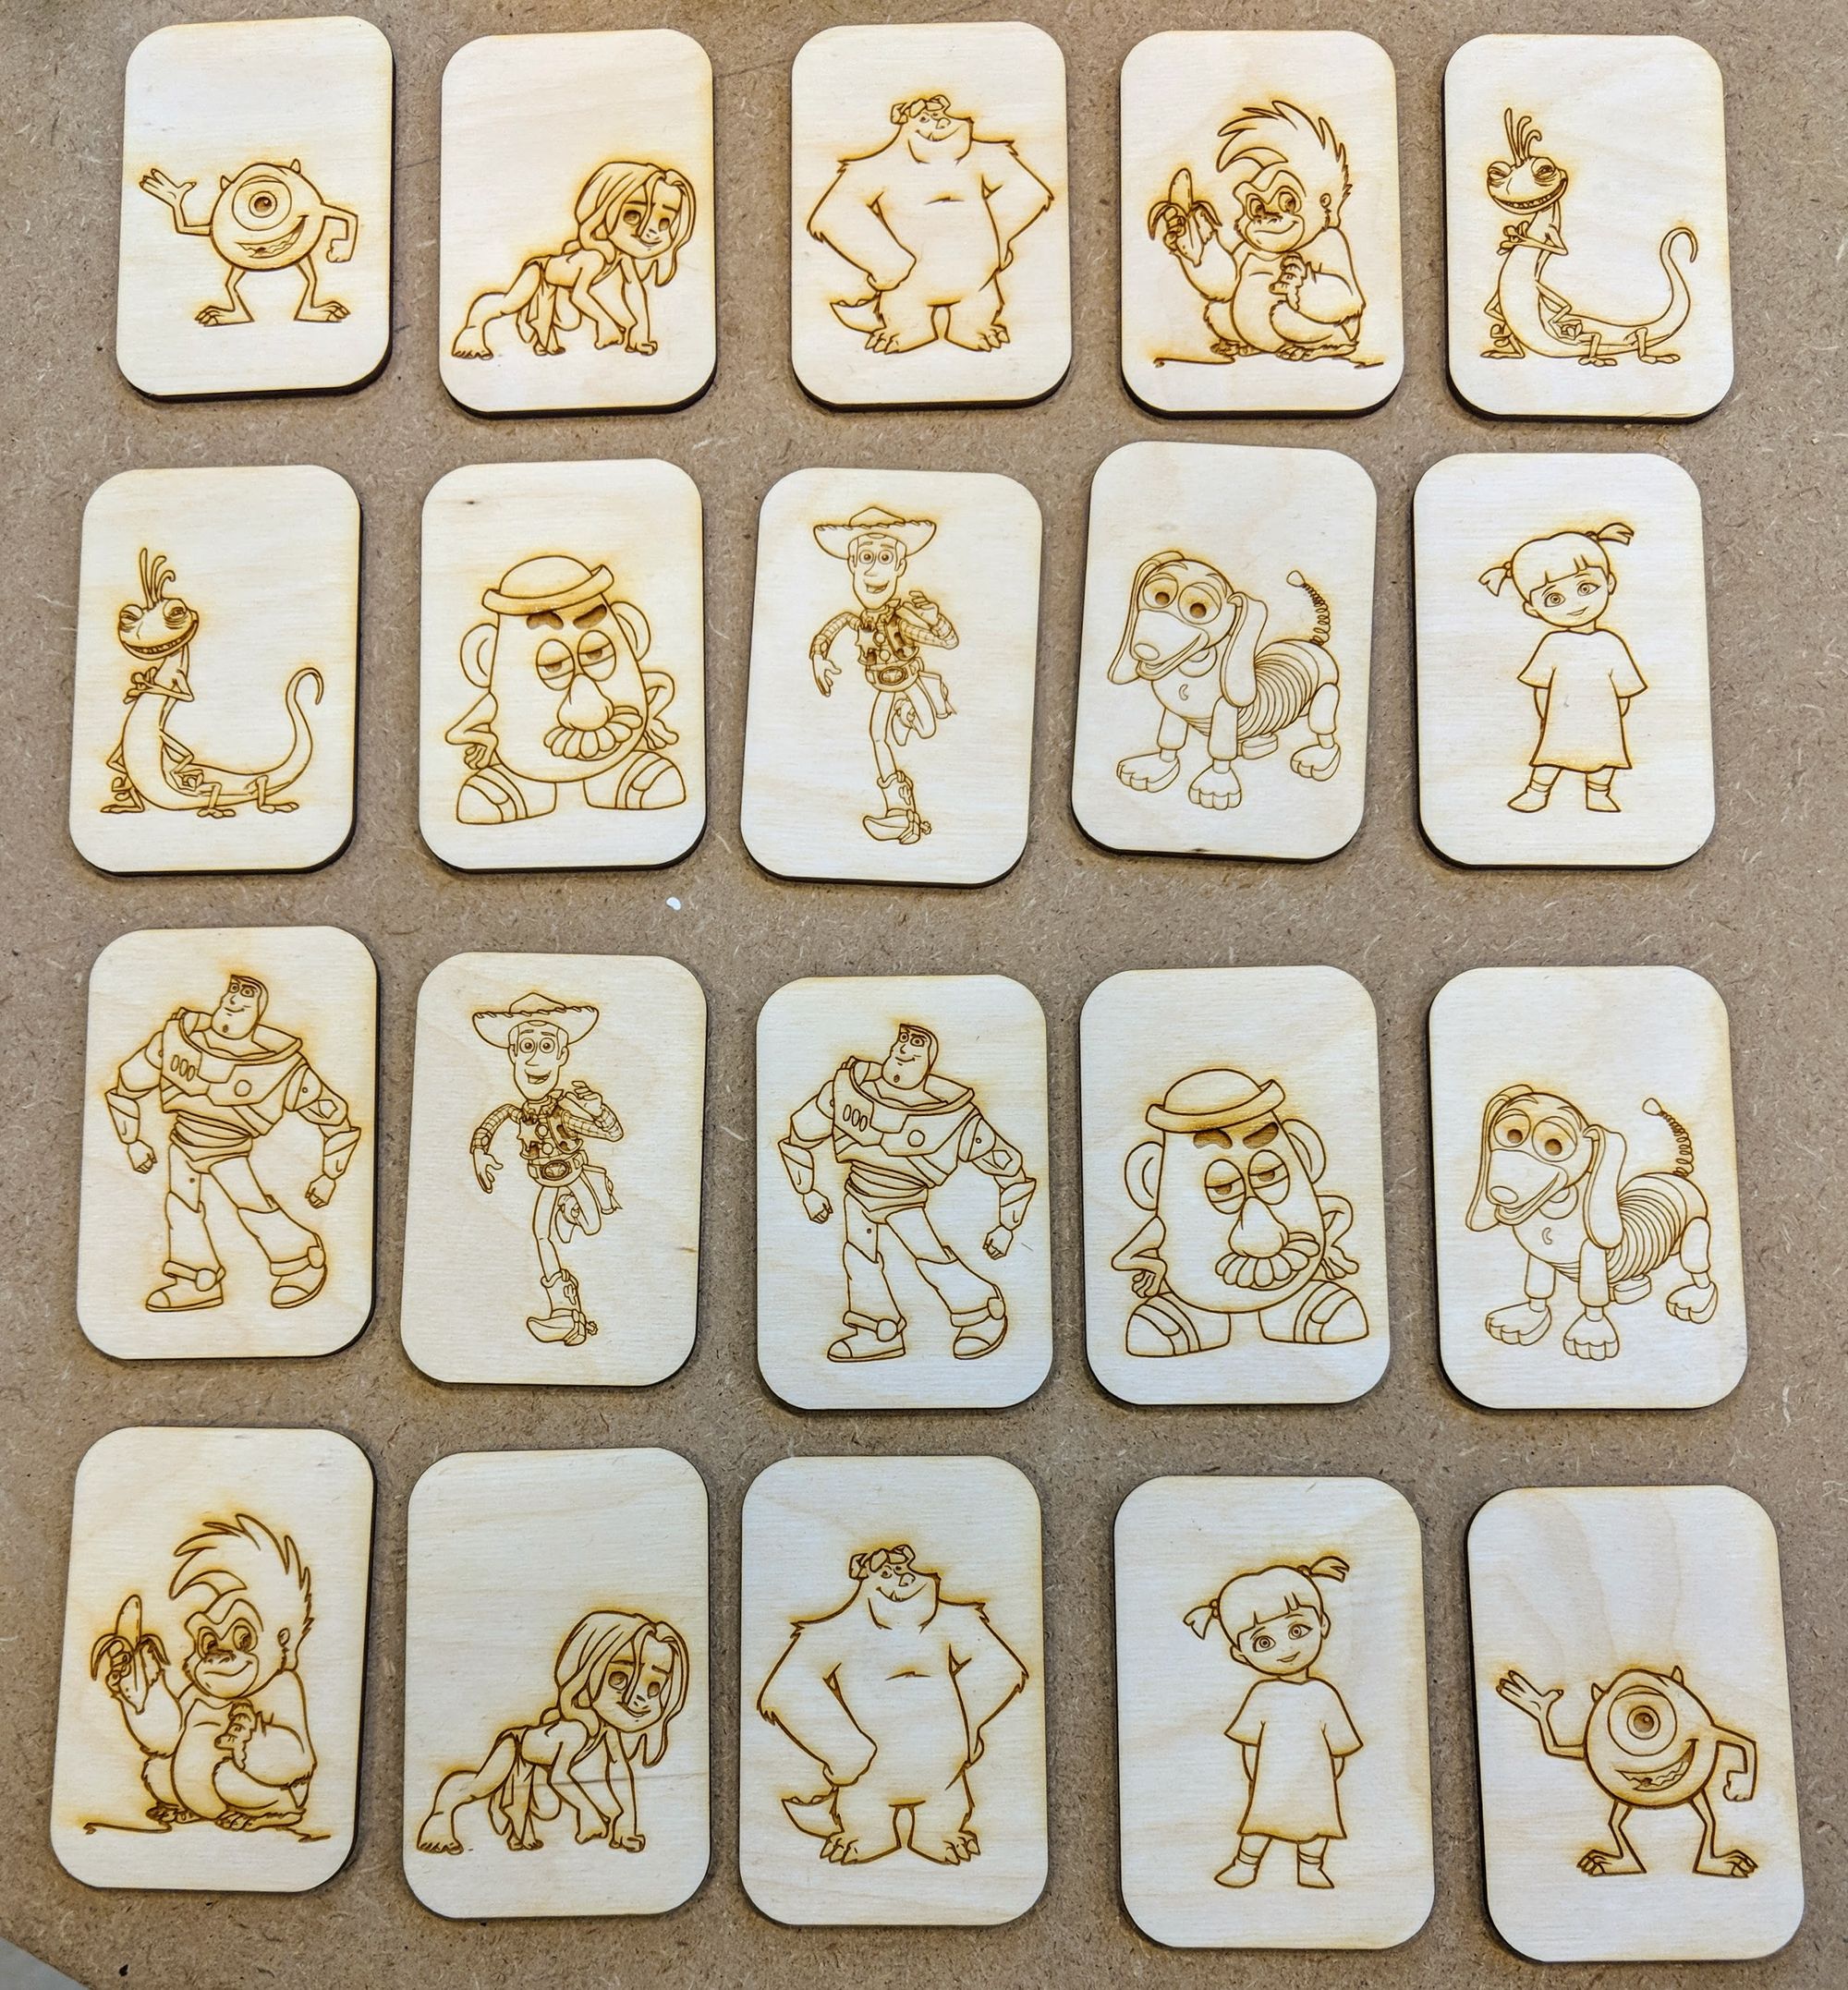
One tip I received was to make the corners rounded so they wouldn't be too sharp for little hands. I popped open my Inkscape program and changed all the vector lines to rounded corners. I wouldn't do it any other way now. There's a significant poke factor difference between the rounded edges and the rectangular edges when you hold the cards in your hand. No pokes on the rounded edges. Perfect advice!
Photo Finish
Here's a few photos and a video of the finished product and laser cutter. If you haven't checked out the Claremont MakerSpace yet, put it on your list of gotta dos.


Comments ()